본 게시물은 멀티캠퍼스 전용 AWS 서버를 실습한 내용을 정리한 글이다.
실습 때 제공된 사용자 정보를 통해 로그인, 기본 설정을 완료했다.
https://dschloe.github.io/aws/2023/09/aws_server_conn/
이번 실습 때 참고한 멀티캠퍼스 강사님 게시물 링크도 함께 첨부한다.
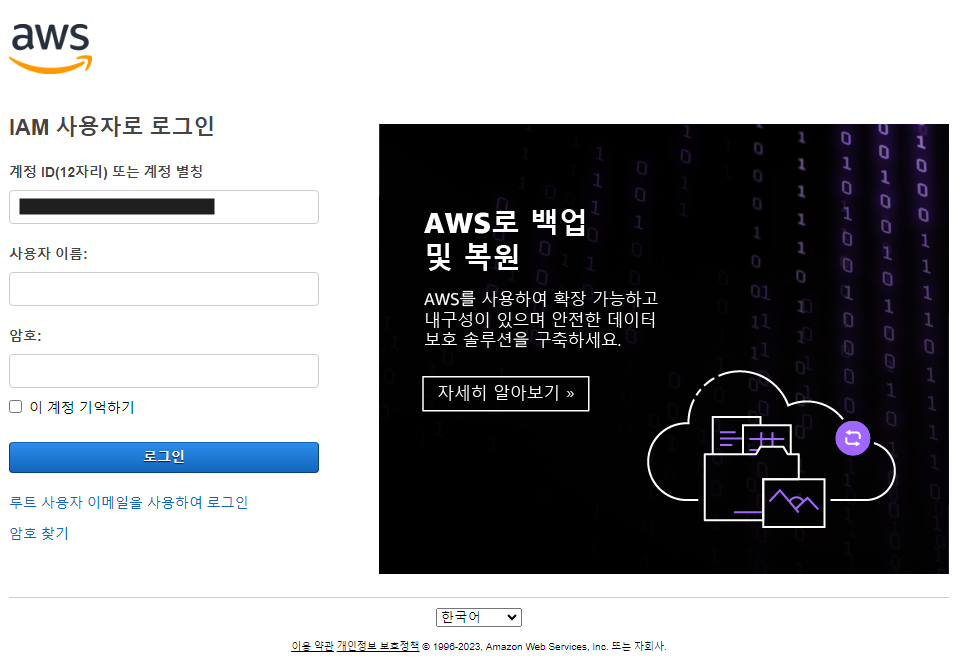
1. 실습용 서버 실행
- 사이트 주소 : https://console.aws.amazon.com/console/home
- 실습용 서버 사용자 정보(계정 ID, 사용자 이름, 암호) 를 참고하여 로그인한다.
- 이후 비밀번호를 변경해야 접속이 가능하므로 비밀번호를 변경해준다.
2. 리전 정보 '오사카'로 변경
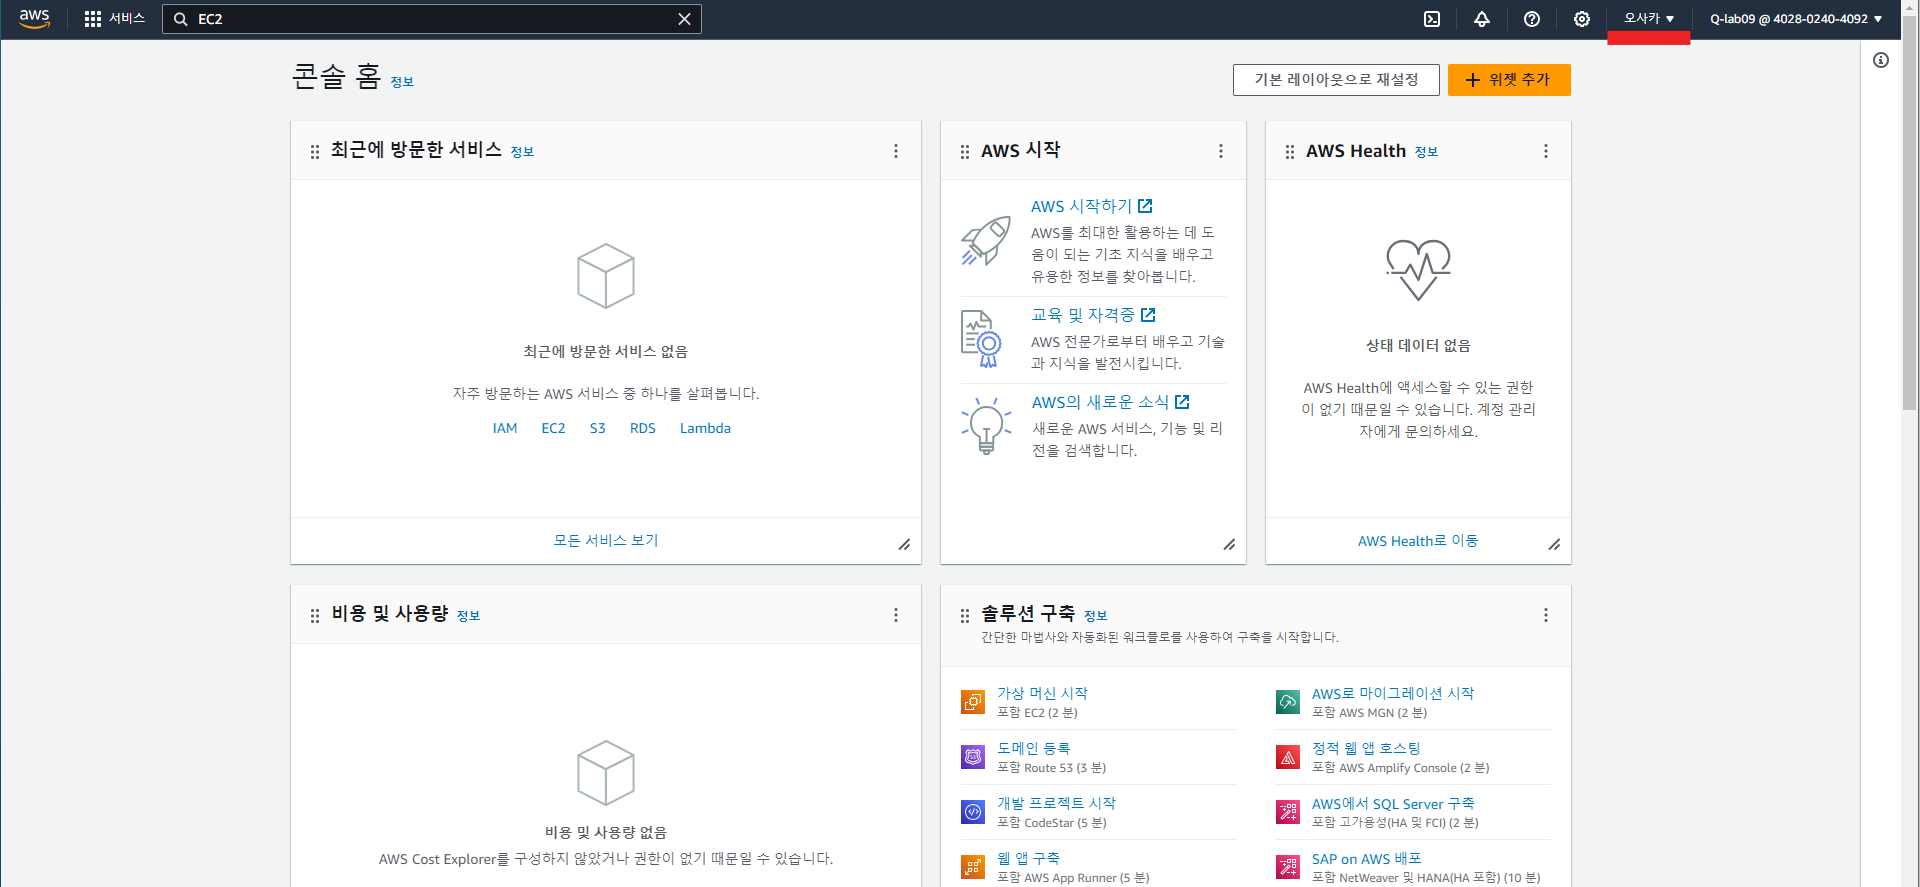
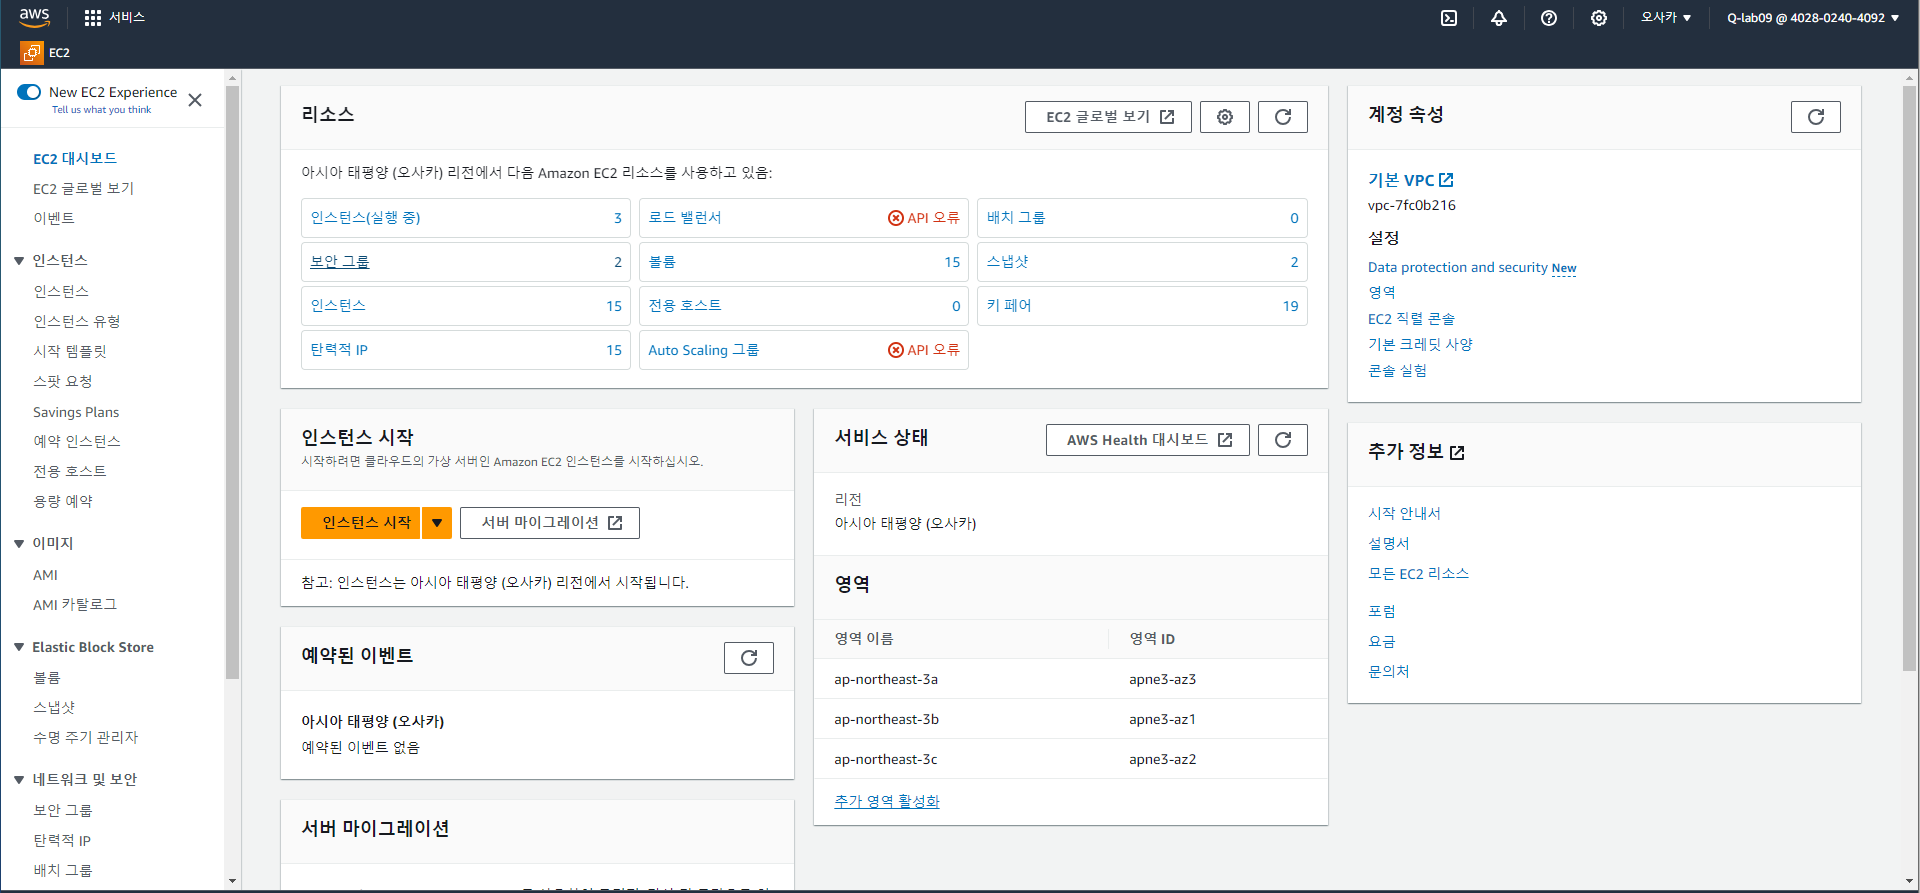
3. EC2 실행
서비스 검색창에서 EC2 검색 후 표시된 인스턴스를 실행한다.
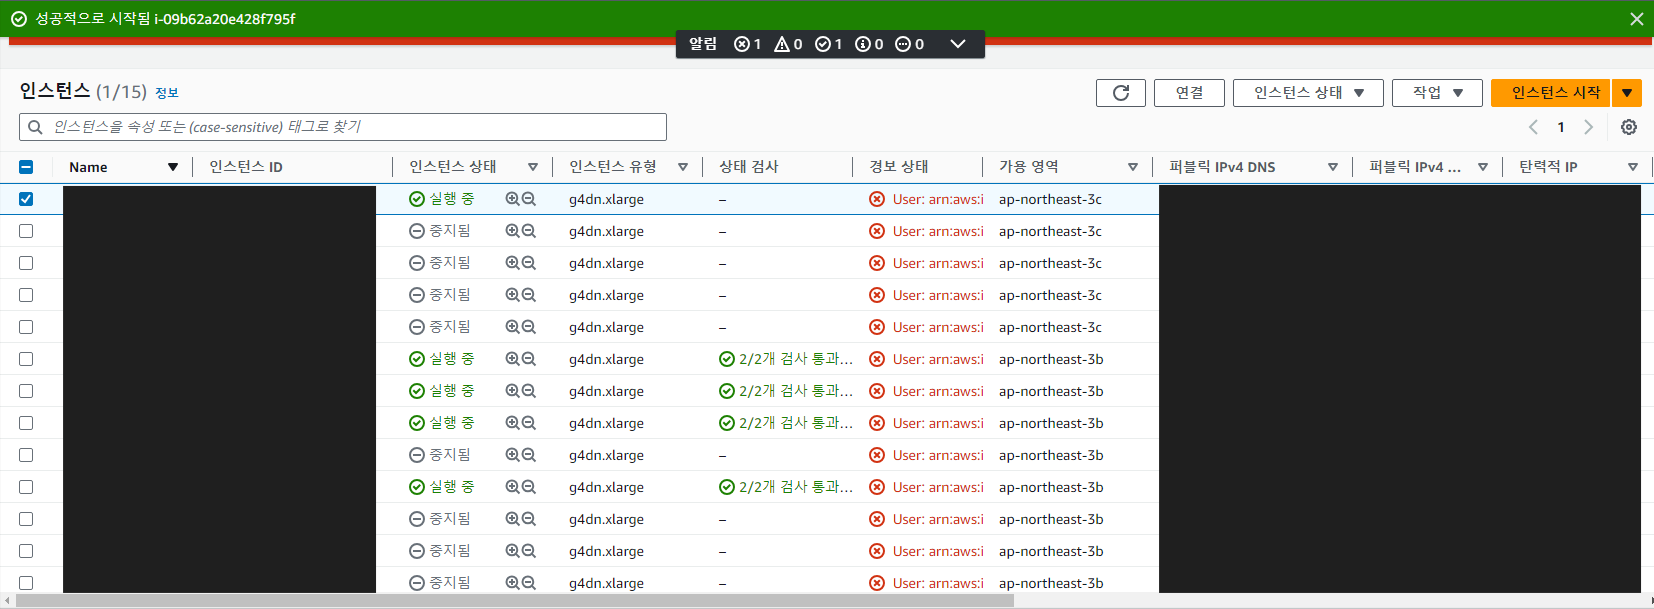
4. 실습용 서버 실행
각 팀에 부여된 서버 위에 마우스 우클릭 후 인스턴스 시작 버튼 클릭한다.
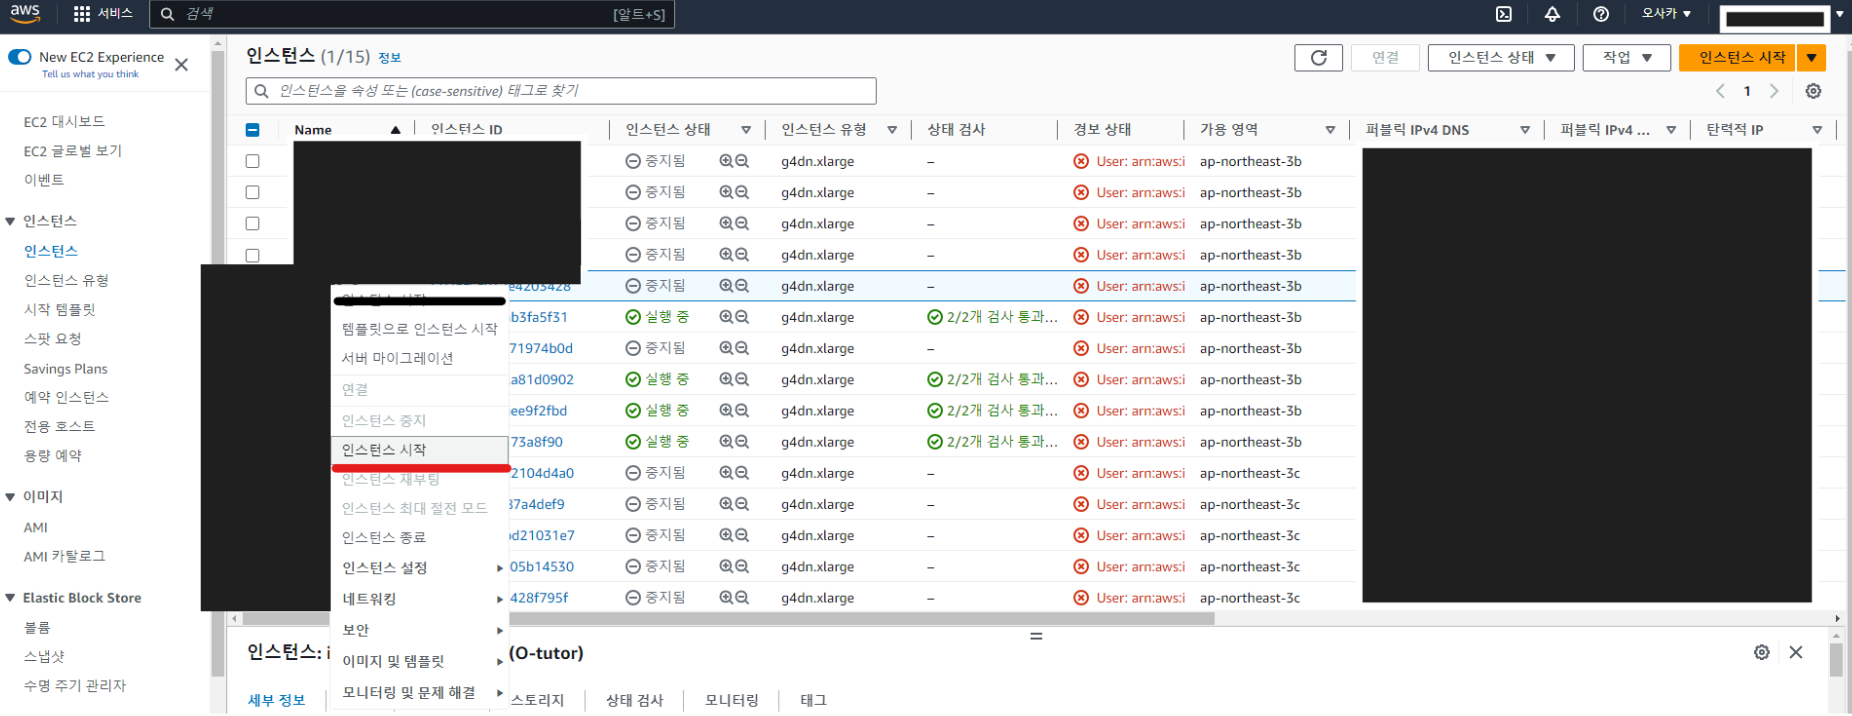
시작 버튼을 클릭하면 인스턴스 상태가 '실행 중' 으로 바뀜.
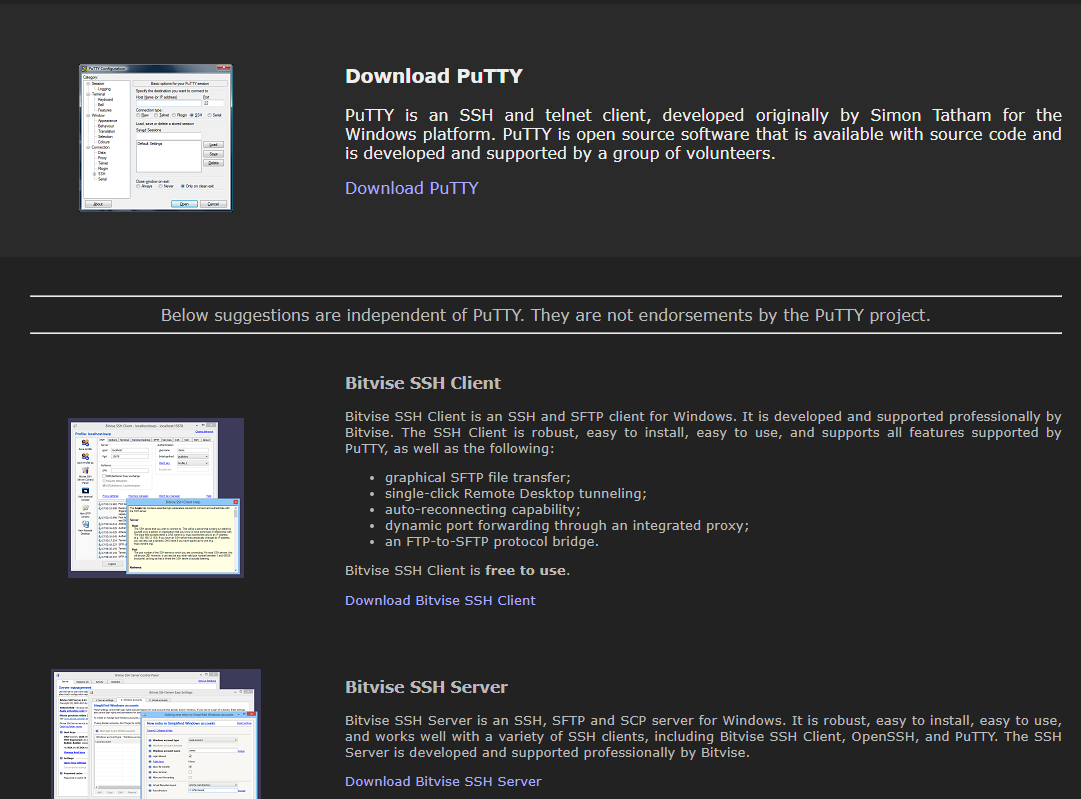
5. 원격 서버 접속을 위한 PuTTY 다운로드
- 사이트 주소 : https://www.putty.org
- 링크를 통해 Download PuTTY 클릭, 각자 OS 환경에 맞춰 다운로드한다.
- 필자는 윈도우 64-bit를 다운받았다.
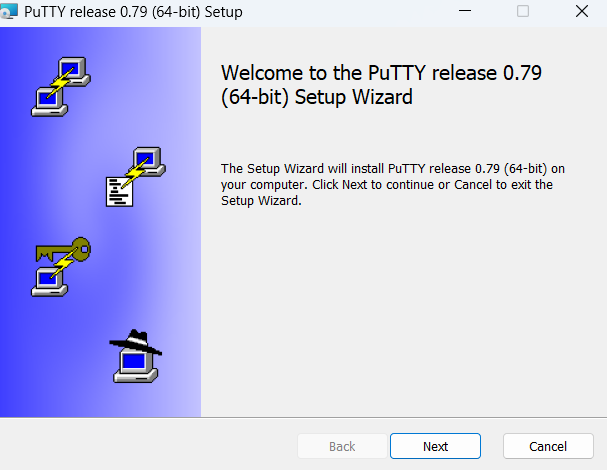
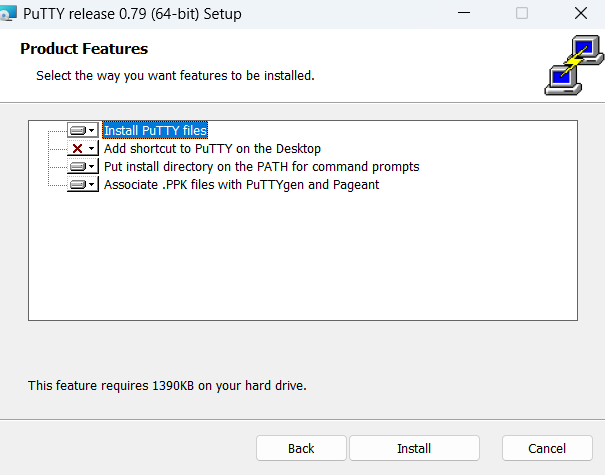
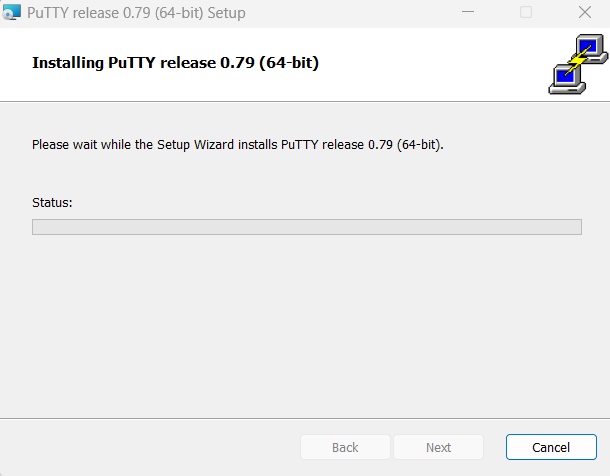
6. PuTTY 설치
7. PuTTY 실행

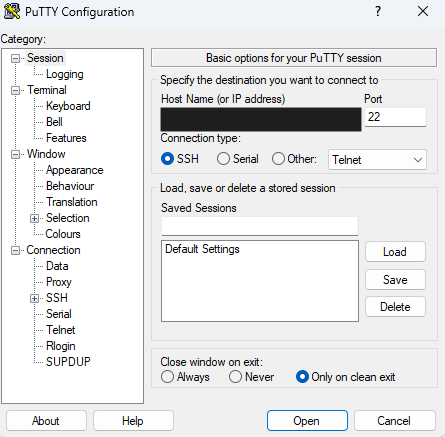
8. PuTTY 설정
- Host Name에 서버 IP 입력
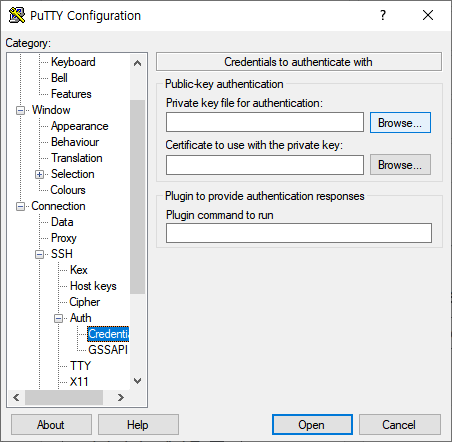
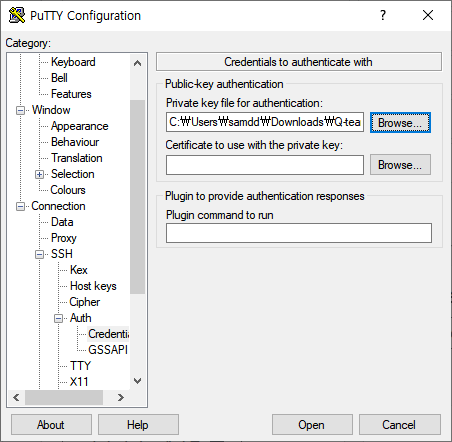
- 좌측 SSH 메뉴 확장 후, Auth > Credentials 클릭
- Private Key file for authentification의 Browse 클릭 후 키 파일 업로드
- Open 클릭
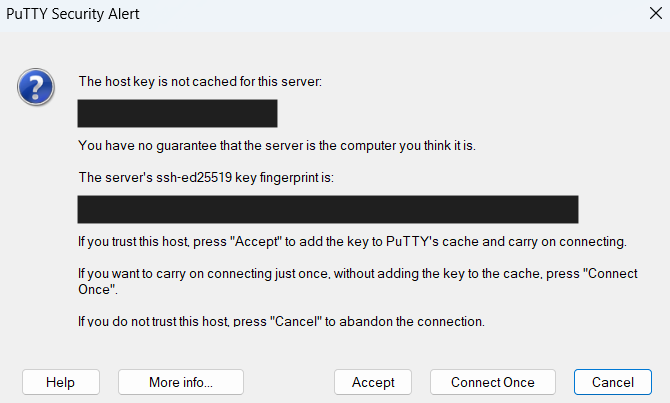
- 이후에 아래와 같은 팝업 메시지 나올 때, Accept 버튼 클릭
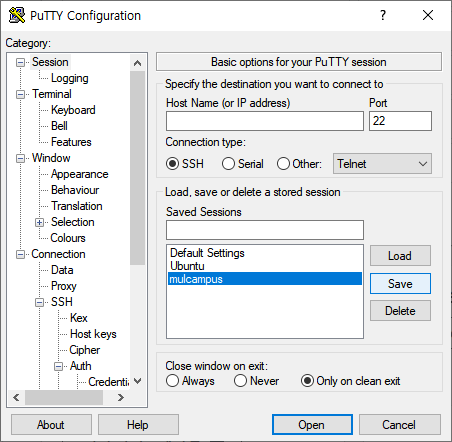
- 재접속할 때마다 위의 설정값이 초기화되기 때문에 설정 저장 필요.
- 위의 과정을 똑같이 반복한 뒤 Session 화면으로 이동
- Saved Sessions 칸에 'mulcampus' 입력 후 Save 클릭하면 설정 저장 완료
- 제공된 터미널 ID 입력
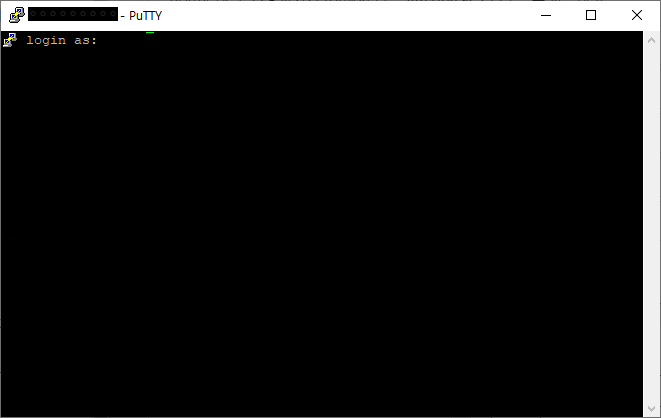
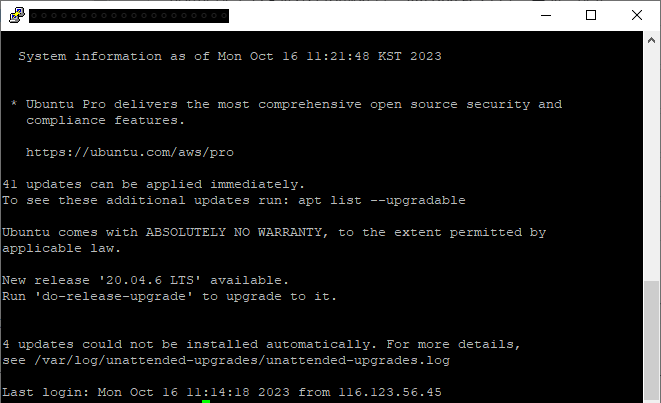
- 이전에 키파일을 미리 업로드했기 때문에 PuTTY 로그인 성공!
9. Conda 가상환경 및 주요 라이브러리 설치
PuTTY 터미널 화면에서 가상환경을 통해 주요 라이브러리를 설치한다.
# 가상 환경 생성
conda create -n [PuTTY ID 명] python=3.10.3

# 가상 환경 실행
conda activate [PuTTY ID 명]

# 라이브러리 설치
conda install numpy scipy scikit-learn pandas lightGBM

pip install xgboost streamlit chardet

# jupyter notebook 설치
conda install jupyter notebook
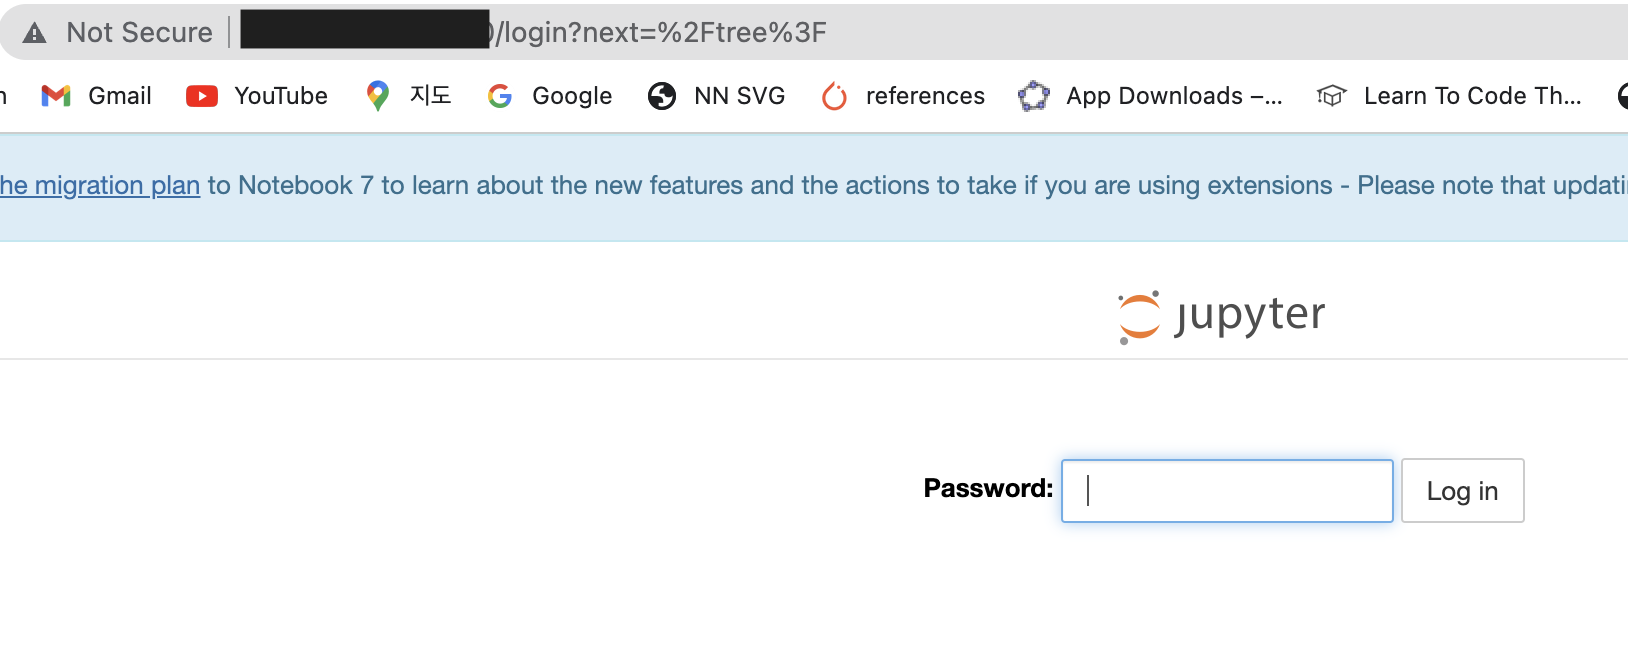
10. Jupyter Notebook 실행
실습 전 제공받은 port 번호만 수정한다.
jupyter-notebook --ip=0.0.0.0 --no-browser --port=[포트번호] &
이후 주피터 화면이 나오는데, 실습 전 제공받은 패스워드를 입력하면 로그인이 된다.
11. 코드 테스트
설치된 라이브러리를 임포트하고 버전 확인해보며 테스트를 해본다.
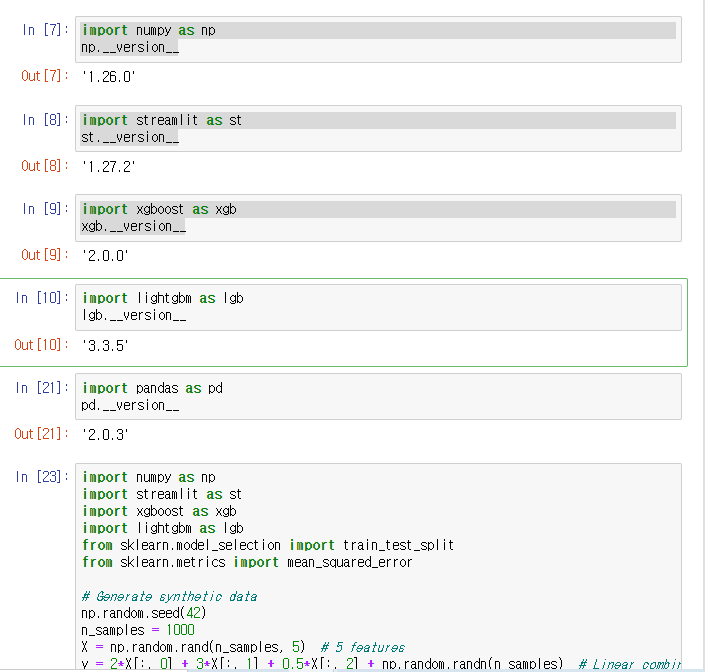
샘플로 사용한 머신러닝 코드는 아래와 같다.
import numpy as np
import xgboost as xgb
import lightgbm as lgb
from sklearn.model_selection import train_test_split
from sklearn.metrics import mean_squared_error

# Generate simple synthetic data
np.random.seed(42)
n_samples = 1000
X = np.random.rand(n_samples, 5)  # 5 features
y = 2*X[:, 0] + 3*X[:, 1] + 0.5*X[:, 2] + np.random.randn(n_samples)  # Linear combination with noise

# Split the data into training and testing sets
X_train, X_test, y_train, y_test = train_test_split(X, y, test_size=0.2, random_state=42)

# Create XGBoost DMatrix
dtrain = xgb.DMatrix(X_train, label=y_train)
dtest = xgb.DMatrix(X_test, label=y_test)

# Specify XGBoost parameters
params = {
    "objective": "reg:squarederror",
    "eval_metric": "rmse",
    "max_depth": 3,
    "learning_rate": 0.1,
    "subsample": 0.8
}

# Train the XGBoost model
num_boost_round = 100
bst = xgb.train(params, dtrain, num_boost_round, evals=[(dtest, "test")], early_stopping_rounds=10)

# Predict on the test set
y_pred = bst.predict(dtest, ntree_limit=bst.best_ntree_limit)

# Evaluate the model
mse = mean_squared_error(y_test, y_pred)
print(f"XGBoost Mean Squared Error: {mse}")

# Create LightGBM datasets
train_data = lgb.Dataset(X_train, label=y_train)
test_data = lgb.Dataset(X_test, label=y_test, reference=train_data)

# Specify LightGBM parameters
params = {
    "objective": "regression",
    "metric": "rmse",
    "num_leaves": 31,
    "learning_rate": 0.05,
    "feature_fraction": 0.9
}

# Train the LightGBM model
num_round = 100
bst = lgb.train(params, train_data, num_round, valid_sets=[test_data], early_stopping_rounds=10)

# Predict on the test set
y_pred = bst.predict(X_test, num_iteration=bst.best_iteration)

# Evaluate the model
mse = mean_squared_error(y_test, y_pred)
print(f"LightGBM Mean Squared Error: {mse}")'Setting' 카테고리의 다른 글
| 스파크(Spark) 설치 (with Google Cloud Platform) (0) | 2023.10.17 |
|---|---|
| AWS EC2 접속 (with VScode) (0) | 2023.10.16 |
| PostgreSQL 설치, 환경변수 설정 - Window 11 ver. (0) | 2023.10.12 |
| Pycharm 가상환경 생성 + Django 설치 (Github에 있는 프로젝트 가져오는 것부터 차근차근) (0) | 2023.07.25 |


